

Estimated reading time 5 minutes
Table of Contents
Introduction
Do you need to be able to record your vocals? Do you want to have them sound professional? Good recording skills are an essential part of creating a high-quality sound. Moreover, it’s basically the same process for recording your voice for speech or for singing. Keep reading How to Record Vocals for a Professional Sound to learn how to get the best sound possible.
This article uses musical terms. For definitions, see the Glossary at the end of the post.
How to Record Vocals for a Professional Sound: Selecting the Right Mic for Voice Recording
There are two types of microphones that you’ll commonly use when you’re recording your voice.
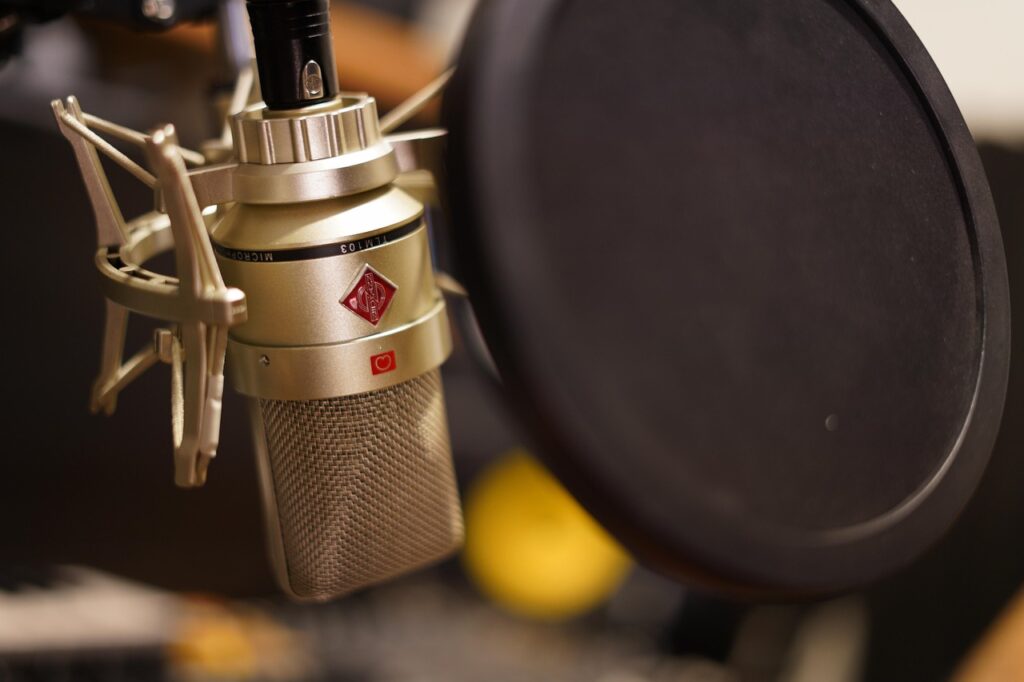
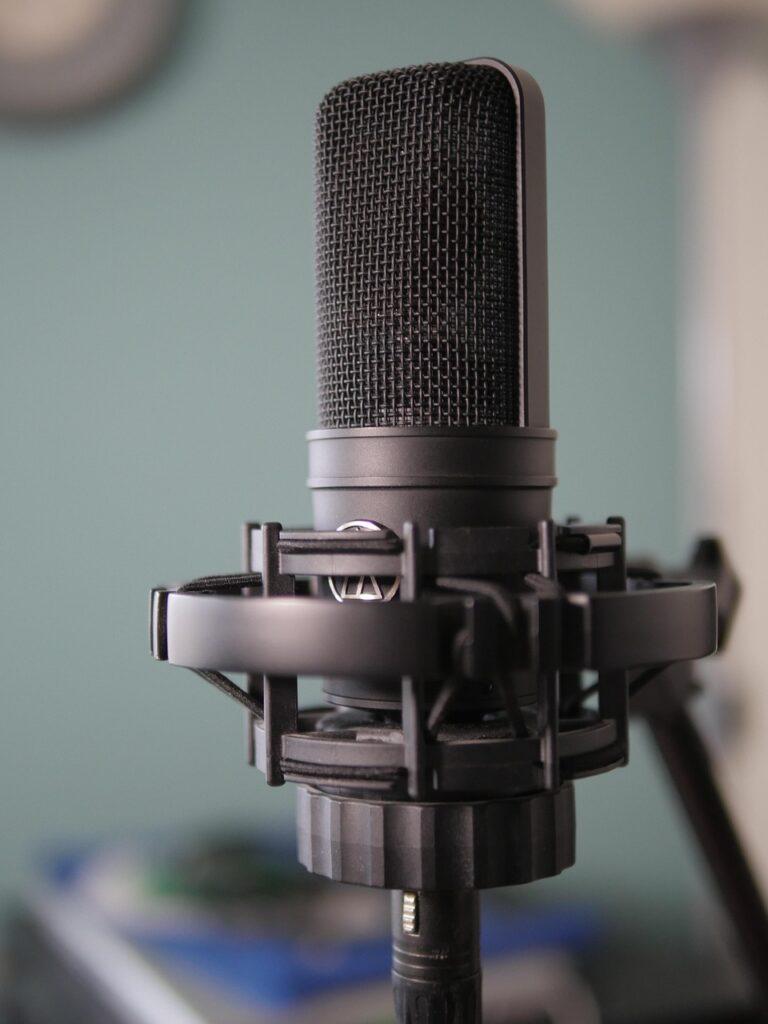
- Most often you’ll want to go with a large diaphragm condenser mic (e.g., AKG C414, Audio Technica 4040, etc.), because its construction makes for unparalleled frequency response, allowing you to capture every nuance of your performance.
- Having said that, some rock singers do better with dynamic mics, such as the classic Shure SM57 or SM58.
- However, if you plan to record using a USB connection, make sure the mic you want to buy has one. Otherwise, you may have to get an XLR to USB cable converter.
If you can, try out different mics to see what works best for recording your voice.
You also need to consider the mic’s poplar pattern.
- The three most common polar patterns are omnidirectional, figure eight, and cardioid.
- Omnidirectional is just that, it picks up all frequencies equally from every direction. This pattern is good for recording backing vocals where all the singers are huddled around the microphone trying to get a good blend between their voices.
- Figure eights will pick up the sound best at 0o (in front of the mic) and 180o (at the back) but will reject the sound best at 90o (right) and 270o (left).
- The cardioid (or heart shaped) polar pattern is a compromise between the first two patterns. It picks up the sound best at 0o but gradually drops off as you approach 180o.
- However, if you rotate the mic off the 0o axis, its high frequencies become attenuated more quickly than the low frequencies. Therefore, you can use the off axis technique to adjust the tone of your voice recording without using equalization.
When to use on-axis vs off-axis micing.
- Everything vibrates, including the room you’re recording your voice in. Find the sweet spot in the room and place the mic there.
- Then, you can adjust the tone of your mic by angling it away from the sound source.
- If there’s noise in the room, such as your computer fans, have the least sensitive part of the mic’s polar pattern facing the sound. For example, if you have a cardioid mic, have the back toward the noise source.
You also must use proper technique when recording your voice.
- You need to have your mouth about six to 12 inches from your mic – or about the span from your outstretched pinky and thumb on the same hand.
- While pop filters help avoid the pops from plosive consonants (especially p and b), you should also sing across the microphone instead of directly into it, which significantly reduces the pop issue.
- If you have problems with sibilance from s consonants, use a de-esser.
How to Record Vocals for a Professional Sound: Preparing Your Voice Recording Setup
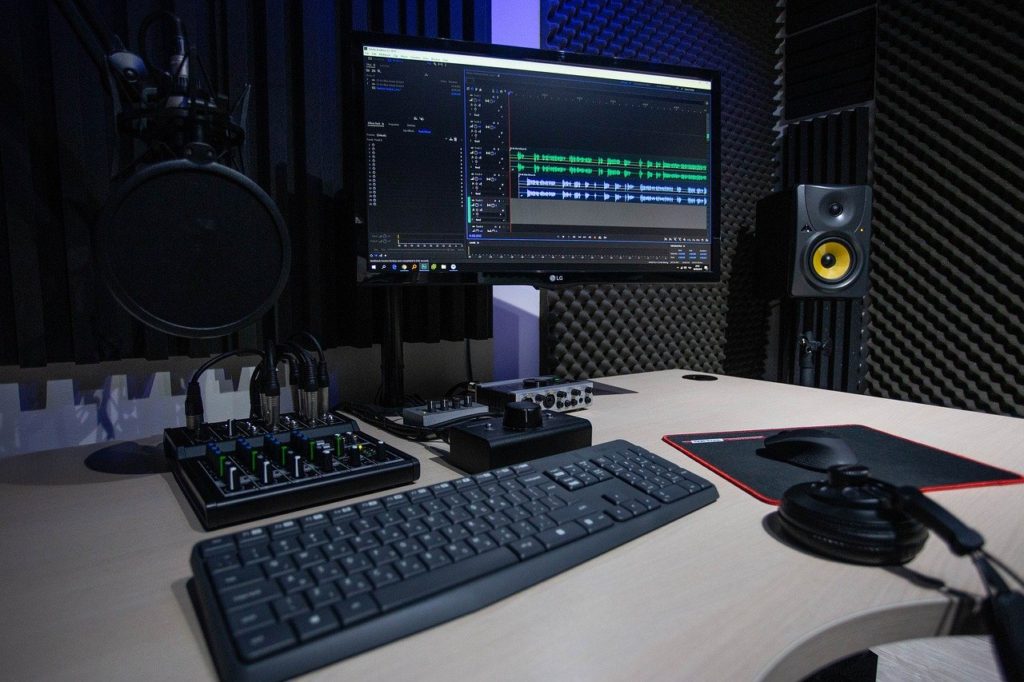
If you’re on a budget, get DAW (digital audio workstation) software and a good set of pro audio headphones.
- This will work reasonably well and it’s much easier to set up than a full recording studio with studio monitors (speakers).
- Record lots of takes and choose the best take, or if you have editing skills, you can edit together the best takes into one uber track.
- Even if a take has a flaw, like you accidentally kicked the mic stand (see low pass filters below), go with the take that has the most emotion and energy.
If you have a nice sounding room, look for the sweet spot.
- You do this by walking around the room while you speak or sing and find the place where you sound best. That’s where you’ll set up your microphone.
- If you need to you can tweak the sound using off-axis micing.
- These techniques let your vocals have a natural sound.
If your room doesn’t sound great, you can create a “vocal booth.”
- This is what I did when I created an instructional video on color coding music for special needs students for Berklee College of Music’s ABLE Assembly.
- First, I took a big carboard box that was tall enough to cover my head and torso.
- Next, I cut out the back and bottom and set it on a card table.
- Then, I stapled Auralex studio foam to the remaining sides and roof on the inside of the box using a staple gun with long staples.
- Don’t use packing foam, because it doesn’t have the right frequency absorbing properties, and it’s also highly flammable. (Not good!)
- My voice recording booth has a controlled sound, but it isn’t totally dead because I left the back of the booth open.
- Why? Because about three to four feet behind me I set up a sound reflective Auralex T’Fuser array to break up any standing waves. I did this by stapling four T’Fusers to a cardboard panel with each T’Fuser at a random angle. Then, I propped it on a chair at the appropriate height.
So, my voice recording booth has a controlled sound that sounds like talk radio, but I can add any reverb I want to my vocal tracks if so desired.
How to Record Vocals for a Professional Sound: EQ and Bonus Voice Recording Tips
In addition to finding the sweet spot in your room and using off-axis micing, you can equalize (EQ) your vocals.
- EQ can be very effective. However, if you EQ too much, it can sound unnatural.
- It really depends on the style of music whether this will be an issue or not.
- Likewise, it also depends on the type of sound you’re going for.
EQ settings for vocals:
- Mic stand thump: cut 60 Hz
- Men’s full sound: boost 100 to 150 Hz
- Women’s full sound: boost 200 to 250 Hz
- Muddy: cut 100 to 300 Hz
- Nasal: cut 500 to 1,000 Hz
- Irritating: cut 3,000 to 4,000 Hz
- Presence: boost 5,000 Hz
- Sibilance: cut 6,000+ Hz
For more information on equalizing your mix:
Final voice recording tips.
- Make sure you have a hot enough microphone signal that you don’t have hiss, but not so hot that you get distortion.
- If you want to avoid microphone stand thump, use a low pass filter that cuts everything below 60 Hz.
- To have a truly professional sound, keep your mouth a consistent distance from the mic when recording, and you must compress your vocals.
Mobile users: for best results viewing the video, rotate your screen 90o to the right.
Video: What Is Compression and How Does it Work?
Final Thoughts
Takeaway points:
- Most often you’ll want to go with a large diaphragm condenser mic when recording your voice.
- You can adjust the tone of your microphone by micing off-axis.
- You should sing across the microphone instead of directly into it and use a pop filter, which drastically reduces having your p and b consonants pop.
- Record lots of takes and choose the best take, or if you have editing skills, you can edit together the best takes into one uber track.
- Even if a take has a flaw, go with the take that has the most emotion and energy.
- Be sure you have a hot enough signal that you don’t have hiss, but not so hot that you get distortion.
- To have a truly professional sound, keep your mouth a consistent distance from the mic when recording, and you must compress your vocals.
Have fun!
Related Posts:
- 10 Elements that Impact Singing in Tune
- How to Employ Effective Equalization on Your Song
- What Exactly Is Attenuation for Home Recording Studios
© 2025 Geoffrey Keith
Glossary
Harmony Singing Examples for Children
Don’t you think kids need to develop harmonizing skills too? Yes! Does "Harmony Singing Examples for Children" have to be limited to children only? No! However, children especially need good harmonic sound models to train their ears to hear how well-tuned harmony should sound. The post’s sound tracks contain specially tuned sing-along songs that balance harmonic and melodic tuning. Thus, they help develop a cappella level intonation. Estimated reading time 2 minutes.
Read MoreHow to Play Piano (Kid’s Color Coded Piano Hand Placement)

Does your child want to learn how to play the piano? Do you want to know the best way to teach piano hand placement? Finger placement on the piano keyboard is an important skill that should be taught at the earliest stages of learning. Keep reading “How to Play Piano (Kid’s Color Coded Piano Hand Placement)” to learn how it works. Estimated reading time 3 minutes.
Read MoreBasic Music Notation Explained in Less Than 4 Minutes

Does music notation seem to be one big mystery? Do you want to be able to read music? Music notation can sometimes seem counterintuitive. However, you too can learn to read music. This post will help give you a quick overview of how music notation works. Keep reading “Basic Music Notation Explained in Less Than 4 Minutes” to learn what it is and how it works. Estimated reading time 3 minutes.
Read MoreSinging in Tune with Vowels
Want to have better vocal tone? Want to sing in tune? Singing is all about the vowels. Vowels have a central role in singing, because the vowels impact your tone. Also, they impact how you tune when you harmonize. This happens when sound passes through the formants - the resonant folds in the vocal tract. The formants filter your voice’s harmonic overtones, which influences your harmonic intonation. Read more to learn about singing in tune with vowels. Estimated reading time 6 minutes.
Read More